Behind the Scenes
How Custom Moon Lamps Are Made: From Your Photo to a Glowing Keepsake
You’ve probably seen them on social media: a glowing sphere that looks exactly like the moon, but with someone’s face or a personal message subtly visible on its surface. They look like magic. But how do they actually work?
In this behind-the-scenes look, we walk through exactly how your photo becomes a custom moon lamp, from the digital file to the finished, glowing keepsake sitting on your nightstand.
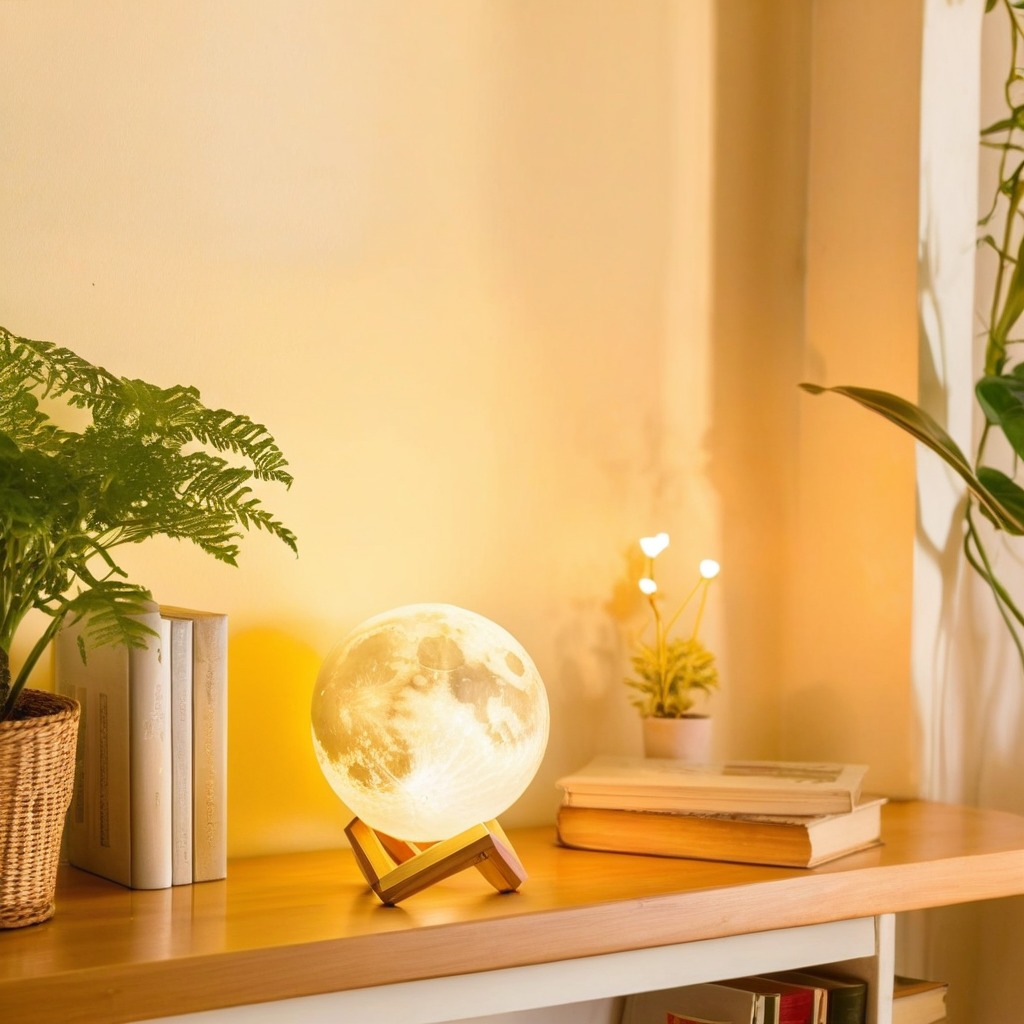
What Exactly Is a Moon Lamp?
A moon lamp is a spherical LED light sculpted to replicate the actual surface of the moon. The craters, valleys, and texture are based on real NASA topographical data of the lunar surface, then reproduced using 3D printing technology.
The “custom” part comes from using lithophane technology: your photo or text is embedded into the lamp’s surface in a way that only becomes visible when the LED inside illuminates it.
During the day, it looks like a beautiful moon decoration. At night, when you turn it on, your photo appears as if by magic, glowing warmly from within.
The Process: How We Turn Your Photo Into a Moon Lamp
Step 1: Photo Preparation
When you send us your photo, our design team prepares it for lithophane conversion:
- Resolution check: The photo needs to be at least 1000x1000 pixels for clear results
- Contrast optimization: We adjust brightness and contrast so the image translates well into 3D relief
- Background removal: We isolate the subject so it stands out clearly on the lamp surface
- Grayscale conversion: Lithophane works by translating light/dark values into thickness variations
AI design preview: Before we print anything, we send you a digital mockup showing approximately how your photo will appear on the lamp. This is your chance to approve or request adjustments.
Step 2: 3D Modeling
Your prepared image is converted into a 3D model:
- The base sphere is generated from NASA moon surface data (real craters and terrain)
- Your photo is mapped onto a section of the sphere as a lithophane layer
- Lighter areas of your photo become thinner in the model (more light passes through)
- Darker areas become thicker (less light passes through)
- The result: when backlit by the LED, your image appears naturally
For text moon lamps, the same principle applies. Your message is rendered in a clear font and embedded into the surface geometry.
Step 3: 3D Printing
The model is printed layer by layer using PLA (polylactic acid), a plant-based thermoplastic:
- Layer height: 0.1mm for smooth surface detail
- Print time: 8-12 hours per lamp (yes, each one takes half a day)
- Material: White PLA that is semi-translucent when thin, opaque when thick
- Supports: Printed with internal supports that are carefully removed after
This is where the magic happens. The printer builds the moon’s surface texture AND your embedded image simultaneously, one microscopic layer at a time.
Step 4: Post-Processing
After printing, each lamp goes through finishing:
- Support removal: Carefully breaking away internal print supports
- Surface smoothing: Light sanding of any rough spots
- Quality inspection: Checking for print defects, layer lines, or missing details
- LED installation: A warm-white LED module is fitted inside with a touch-dimmer circuit
- Base mounting: The lamp is placed on a turned wooden base with a charging port
Step 5: Light Testing
This is the moment of truth. We power on the LED and check:
- Does the photo/text appear clearly and evenly?
- Is the brightness consistent across the surface?
- Are the moon surface textures visible and realistic?
- Does the touch dimmer work smoothly (off → dim → medium → bright)?
Every lamp is photographed lit-up as part of our quality check. Lamps that don’t pass are reprinted.
Step 6: Packaging and Shipping
Each lamp is packaged in a foam-lined box to protect the delicate sphere during international shipping. The wooden base and USB charging cable are included.
Photo Tips for the Best Results
Want your moon lamp to look amazing? Follow these photo guidelines:
- Use a high-resolution image (at least 1000x1000 pixels, ideally from a phone’s main camera)
- Good contrast matters more than color (since it becomes grayscale)
- Faces work best - clear facial features translate into striking lithophanes
- Avoid busy backgrounds - we’ll remove them, but a clean original helps
- Couples or family photos work great - just ensure faces aren’t too small in the frame
What About Text Moon Lamps?
Text lamps follow the same process, but instead of a photo:
- You provide your message (typically 5-20 words)
- We typeset it in an elegant font
- The text is rendered as lithophane geometry
- Popular messages: wedding dates, “I love you to the moon and back”, baby names + birth dates, memorial quotes
Text lamps tend to have even sharper results since fonts have clean, defined edges that print beautifully.
How Long Does It Take?
| Stage | Duration |
|---|---|
| Design + approval | 24 hours |
| 3D printing | 8-12 hours |
| Post-processing + QC | 1 day |
| Total production | 3-5 days |
| Shipping (US) | 7-12 days |
| Total to your door | 10-17 days |
Need it faster? We offer rush production (priority queue) for an additional fee.
Caring for Your Moon Lamp
Once you receive your lamp:
- Charging: USB-C cable, full charge takes 2-3 hours, lasts 8-12 hours
- Cleaning: Gentle wipe with dry microfiber cloth (no water or chemicals)
- Placement: Keep away from direct sunlight to prevent PLA yellowing over time
- Handling: Hold by the base when moving (the sphere surface is printed to 1-2mm thickness)
Ready to Create Your Custom Moon Lamp?
Whether it’s a photo of your partner, your pet, your baby, or a message that means the world to someone, we can turn it into a glowing keepsake.
Send us your photo or message and receive a free design mockup within 24 hours. No payment required until you approve the design.
Starting from $39 for text lamps, $42 for photo lamps. Ships worldwide.